
Building Han Solo's DL-44 Blaster
Back in January I decided it was time to put my newly acquired CR-10 and my skills to the test. I had never built a prop from 3D printed parts and it was about time I tried. I bought a roll of eSun PLA and headed to Thingiverse. After a little searching I settled on the model by PortedtoReality, it seemed to have the most accuracy and was broken down into logical components. It also had fantastic instructions, really a first class offering.
The bed size of the CR-10 is big, part of it's appeal. I have a CR-10 mini, which has a slightly smaller bed, but it's still pretty huge. I was able to get all of the parts printed in a single pass. Had I been paying closer attention I could have saved a little time and filament by NOT printing both versions of the scope. PortedtoReality was kind enough to consider the needs of those with smaller build volumes and included a scope that's split in two. I decided I wanted to spend the time to get the quality right, so I printed at .5 layer height, and settled in for what I believe was to be a 47 hour print. I set up a webcam on my printer so I could monitor it. I was working on the movie Blockers at the time so I had to be away from the studio during most of the day.
Of course I say I was able to fit all the parts on the print bed, that doesn't mean they all printed. As luck would have it, sometime in the middle of the first night the front grill came loose from the bed and caused a little mayhem. It took out the hammer part and the trigger wasn't looking so hot either.
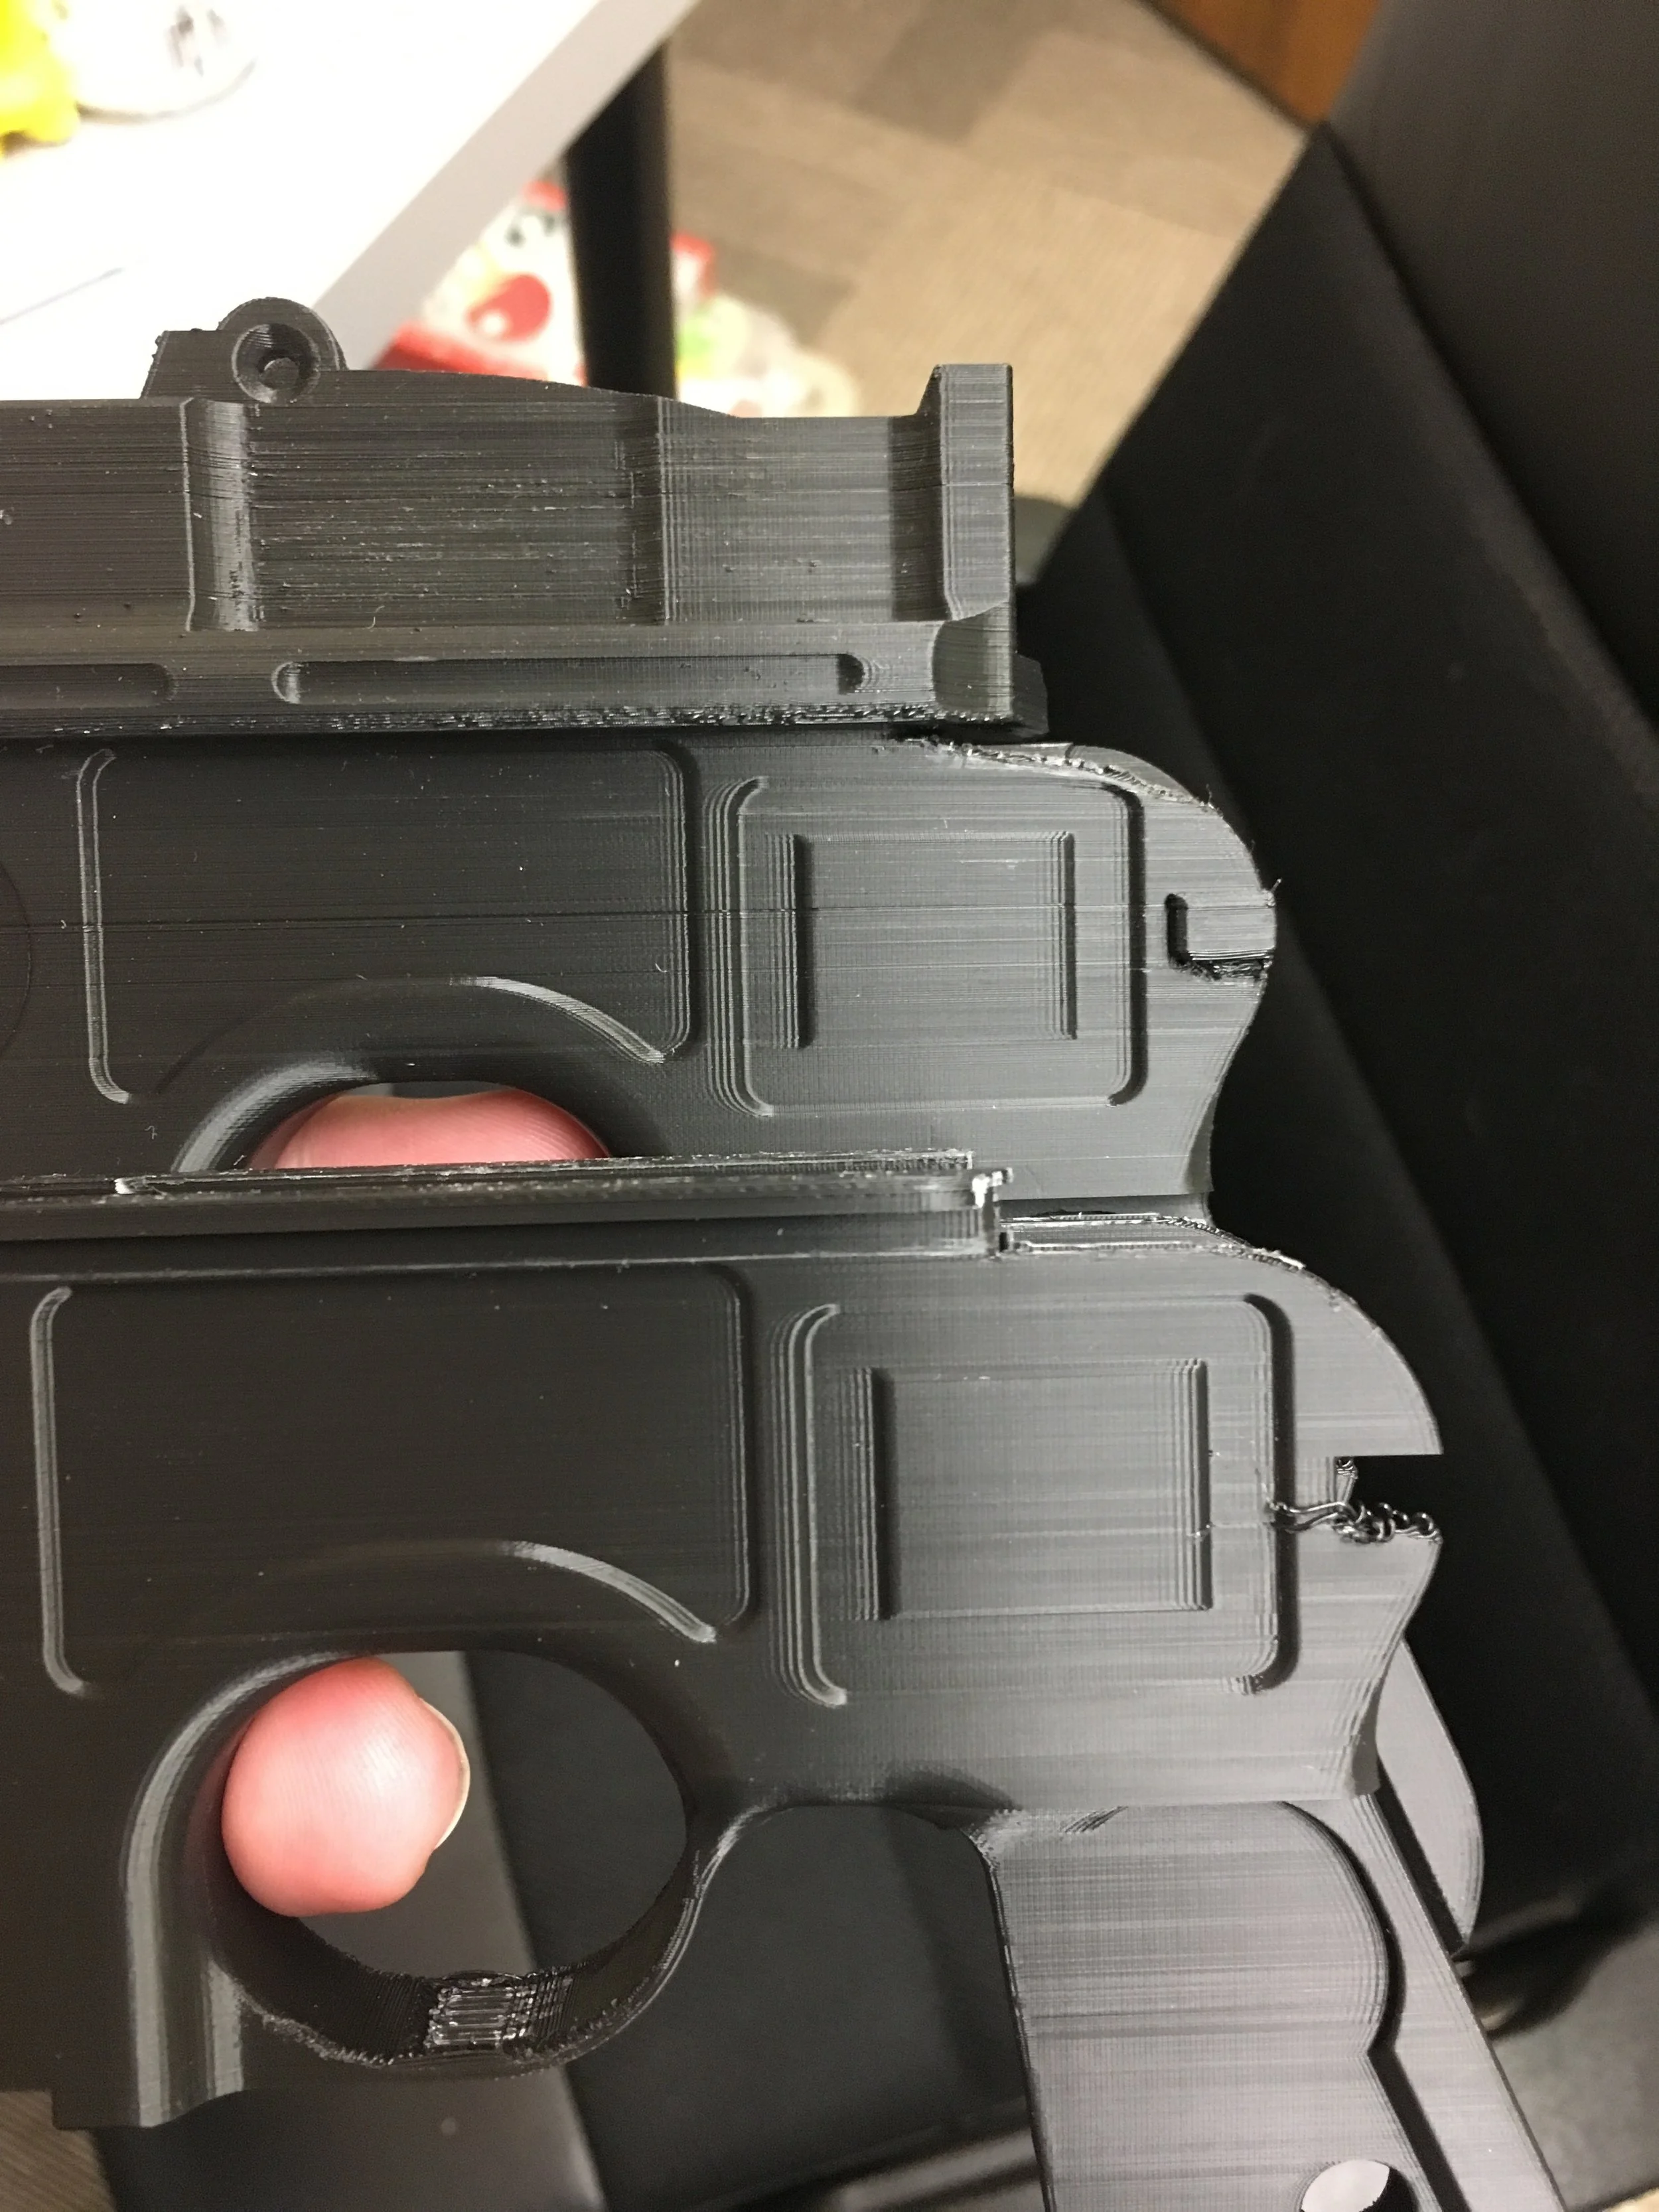
There was also a small layer shift, I assume it was connected to the incident with the front grill. Most of the parts seemed ok, but future me was going to have some additional sanding to do. I also elected to roll the dice and print without supports on anything, this proved to be a bad gamble. While most of the parts were fine the main body (yeah, the largest and most important part) was a bit of a disaster. I could have made it work, but elected to print it again, along with the parts that didn't make it the first time. Overall though, I was really impressed with the print quality. After suffering a year with my first 3D printer, a ThreeUp (or as I like to call it, ThrowUp) it was super exciting to see such clean prints and fine details.
Once I had all the parts it was time to make them pretty. I started with a nice thick coat of Rustoleum filler primer. Then I sanded, and sanded, and sanded. Yes, if you want to make props with a 3D printer, expect to get super familiar with abrasives and dust. The filler primer does a great job of smoothing fine layer lines, but it's no magic bullet, expect to prime, sand, prime, sand, repeat until you're happy with the surface. I decided I wasn't going get too crazy with the surfaces, I wanted it smooth, but was also a bit impatient and wanted to see how it looked with some paint. I also wanted to get some additional weight in the blaster. The real prop weighs about four pounds, and I knew getting it to that weight was unrealistic, but I also didn't want it to be all plastic and feel like toy. So I bought some fishing sinkers and filled the voids I could with them. To get them into some tight spaces I found beating them senseless with a hammer allowed me to shape them however I wanted. There's some in the main body, I drilled a big hole in the grip and wedged one in there and put some in the barrel. I was able to get the weight up to one pound, only a quarter of the real weight, but enough that it feels good in your hand.
Once I was happy with all the surfaces it was time for some paint. I decided to just use rattle can enamels, slow to dry (cure) but nice and durable. Most of the parts were painted with Rustoleum satin black, but for the flash hider I went with an oiled magnesium color. For the ends of the sight and the details in the grips I went with a brass color. Assembly was done mostly with CA glue with accelerant.
Then my favorite part, weathering. I used a combination of oil paints and Rub-n-Buff to give it that lived in look. I used black, burnt umber and burnt sienna oils, just painting rough and sloppy and wiping off the excess with a shop rag. Once I was satisfied with that I went in with silver Rub-n-Buff and my finger and brought out the edges. I also added a few scratches and dings with a brush and very little silver, not a full dry brush, but I used it very sparingly. The faded weathering on the flash hider was just done with my finger and slowly building up the color, I'm really happy with how that turned out despite not being able to find my old airbrush in my garage (it's still missing, guess I'm going to have to buy a new one). I also use a bit of black Rub-n-Buff on the already black surfaces, I think it does a great job of subtly breaking up the surface. This is the completed blaster, I think it turned out pretty good for my first prop using this technique.
Once it was built I decided I need a way to display it. So I went to Michael's and bought a shadow box (on sale, always use your coupons!) after striking out at the fabric department at Wal-Mart (the only place to buy fabric in my little town). I went to Goodwill and found a red velvet sacrificial pillow. I spent some time in Fusion 360 designing a little stand rest, then printed two of them and had all the parts I needed for a display. I covered the glass of the shadow box and broke it over a large trash bin. Incidentally the glass in Michael's shadow boxes is really tough, it took me several attempts to break it, laughing in disbelief, luckily no one was watching.
The back board of the frame was already padded, so I just covered it with the velvet from the pillow and trimmed it to size. Then I marked the location for the stands I printed and drilled through the backing. I screwed in the stands from the back and replaced the board into the frame, the whole thing took me maybe an hour (minus print time).
And here it is, my completed DL-44 blaster. I'm super happy with how it turned out and it's now proudly hanging on the wall in my studio/makerspace. I thought about making a plaque for it, but really who doesn't know what it is? At the suggestion of Adam Savage I think maybe I'll add Han's winning hand of sabacc when I can finally get good reference for the cards.